If you still don’t have a development environment to work with Kubernetes, Java, Docker, etc. Then, congrats! You’ve come to the right place. In this tutorial, we’ll teach you how to set up a development environment in a few simple steps. Ready?
What will you need?
To prepare your development environment you will need to install:
- JDK 8 or later
- Maven 3.5.2 or later
- Git
- Docker Desktop
- As an option, for convenience:
- A Docker management console.
- A development IDE, for example IntelliJ IDEA
Docker Desktop Set up
Once the installation of Docker Desktop is completed, let’s configure it to allow the use of Kubernetes. By default, this function is disabled. Enabling it is as simple as accessing the configuration options and check the corresponding box in the ‘Kubernetes’ section:
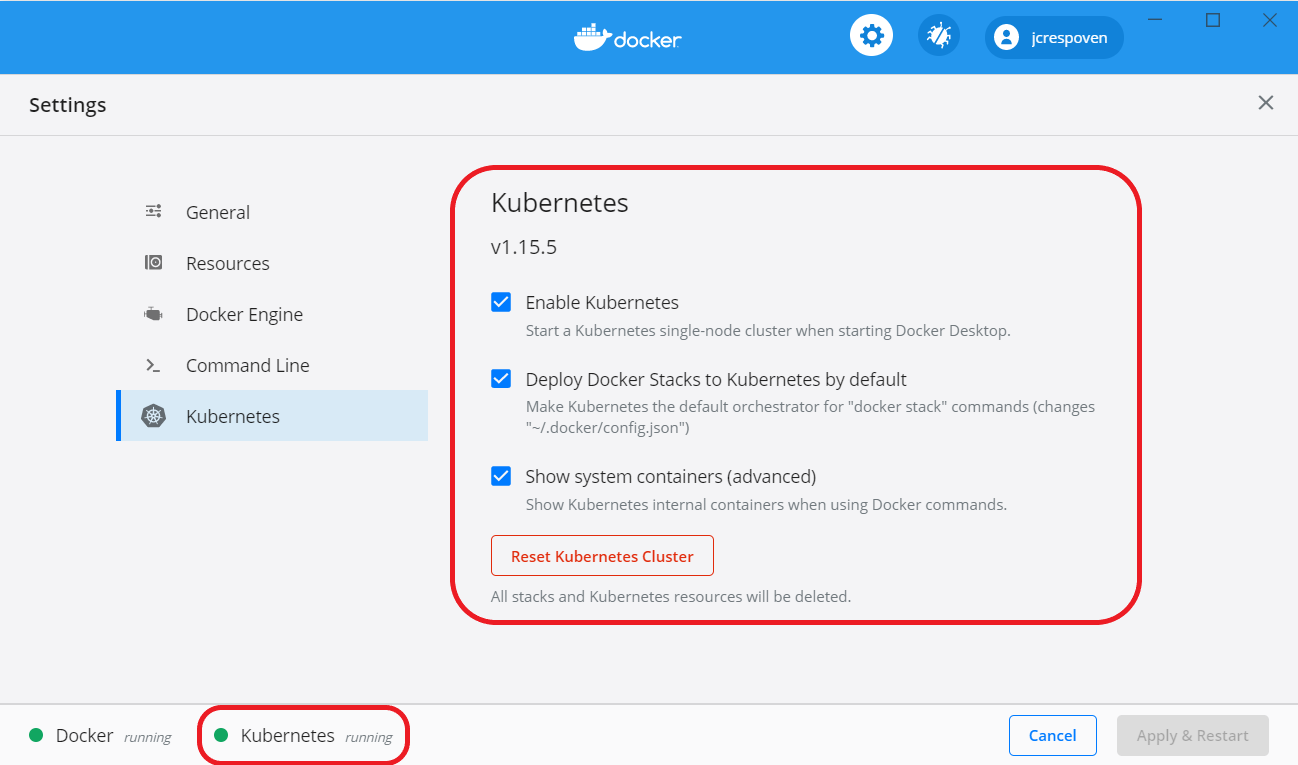
Once the changes are applied, the installation of Kubernetes will automatically begin. In the lower-left part, you’ll see the status of the installation, so you know when it has finished and is therefore available for use.
Once the installation of Kubernetes is finished, you’ll have at your disposal the kubectl command, which you can use from the Command Prompt or Windows PowerShell, in case you are using Windows, or from the Mac terminal.
Kubernetes Ingress
Ingress exposes HTTP and HTTPS routes from outside the cluster to services within the cluster, allowing you to conveniently access them.
In short, these are the steps you must follow:
Creation of Ingress initial artifacts:
kubectl apply -f https://raw.githubusercontent.com/kubernetes/ingress-nginx/nginx-0.30.0/deploy/static/mandatory.yamlDeployment of Ingress:
kubectl apply -f https://raw.githubusercontent.com/kubernetes/ingress-nginx/nginx-0.30.0/deploy/static/provider/cloud-generic.yamlInstallation verification:
kubectl get pods --all-namespaces -l app.kubernetes.io/name=ingress-nginx --watch
If you have any problems, follow the installation steps in the Ingress installation guide.
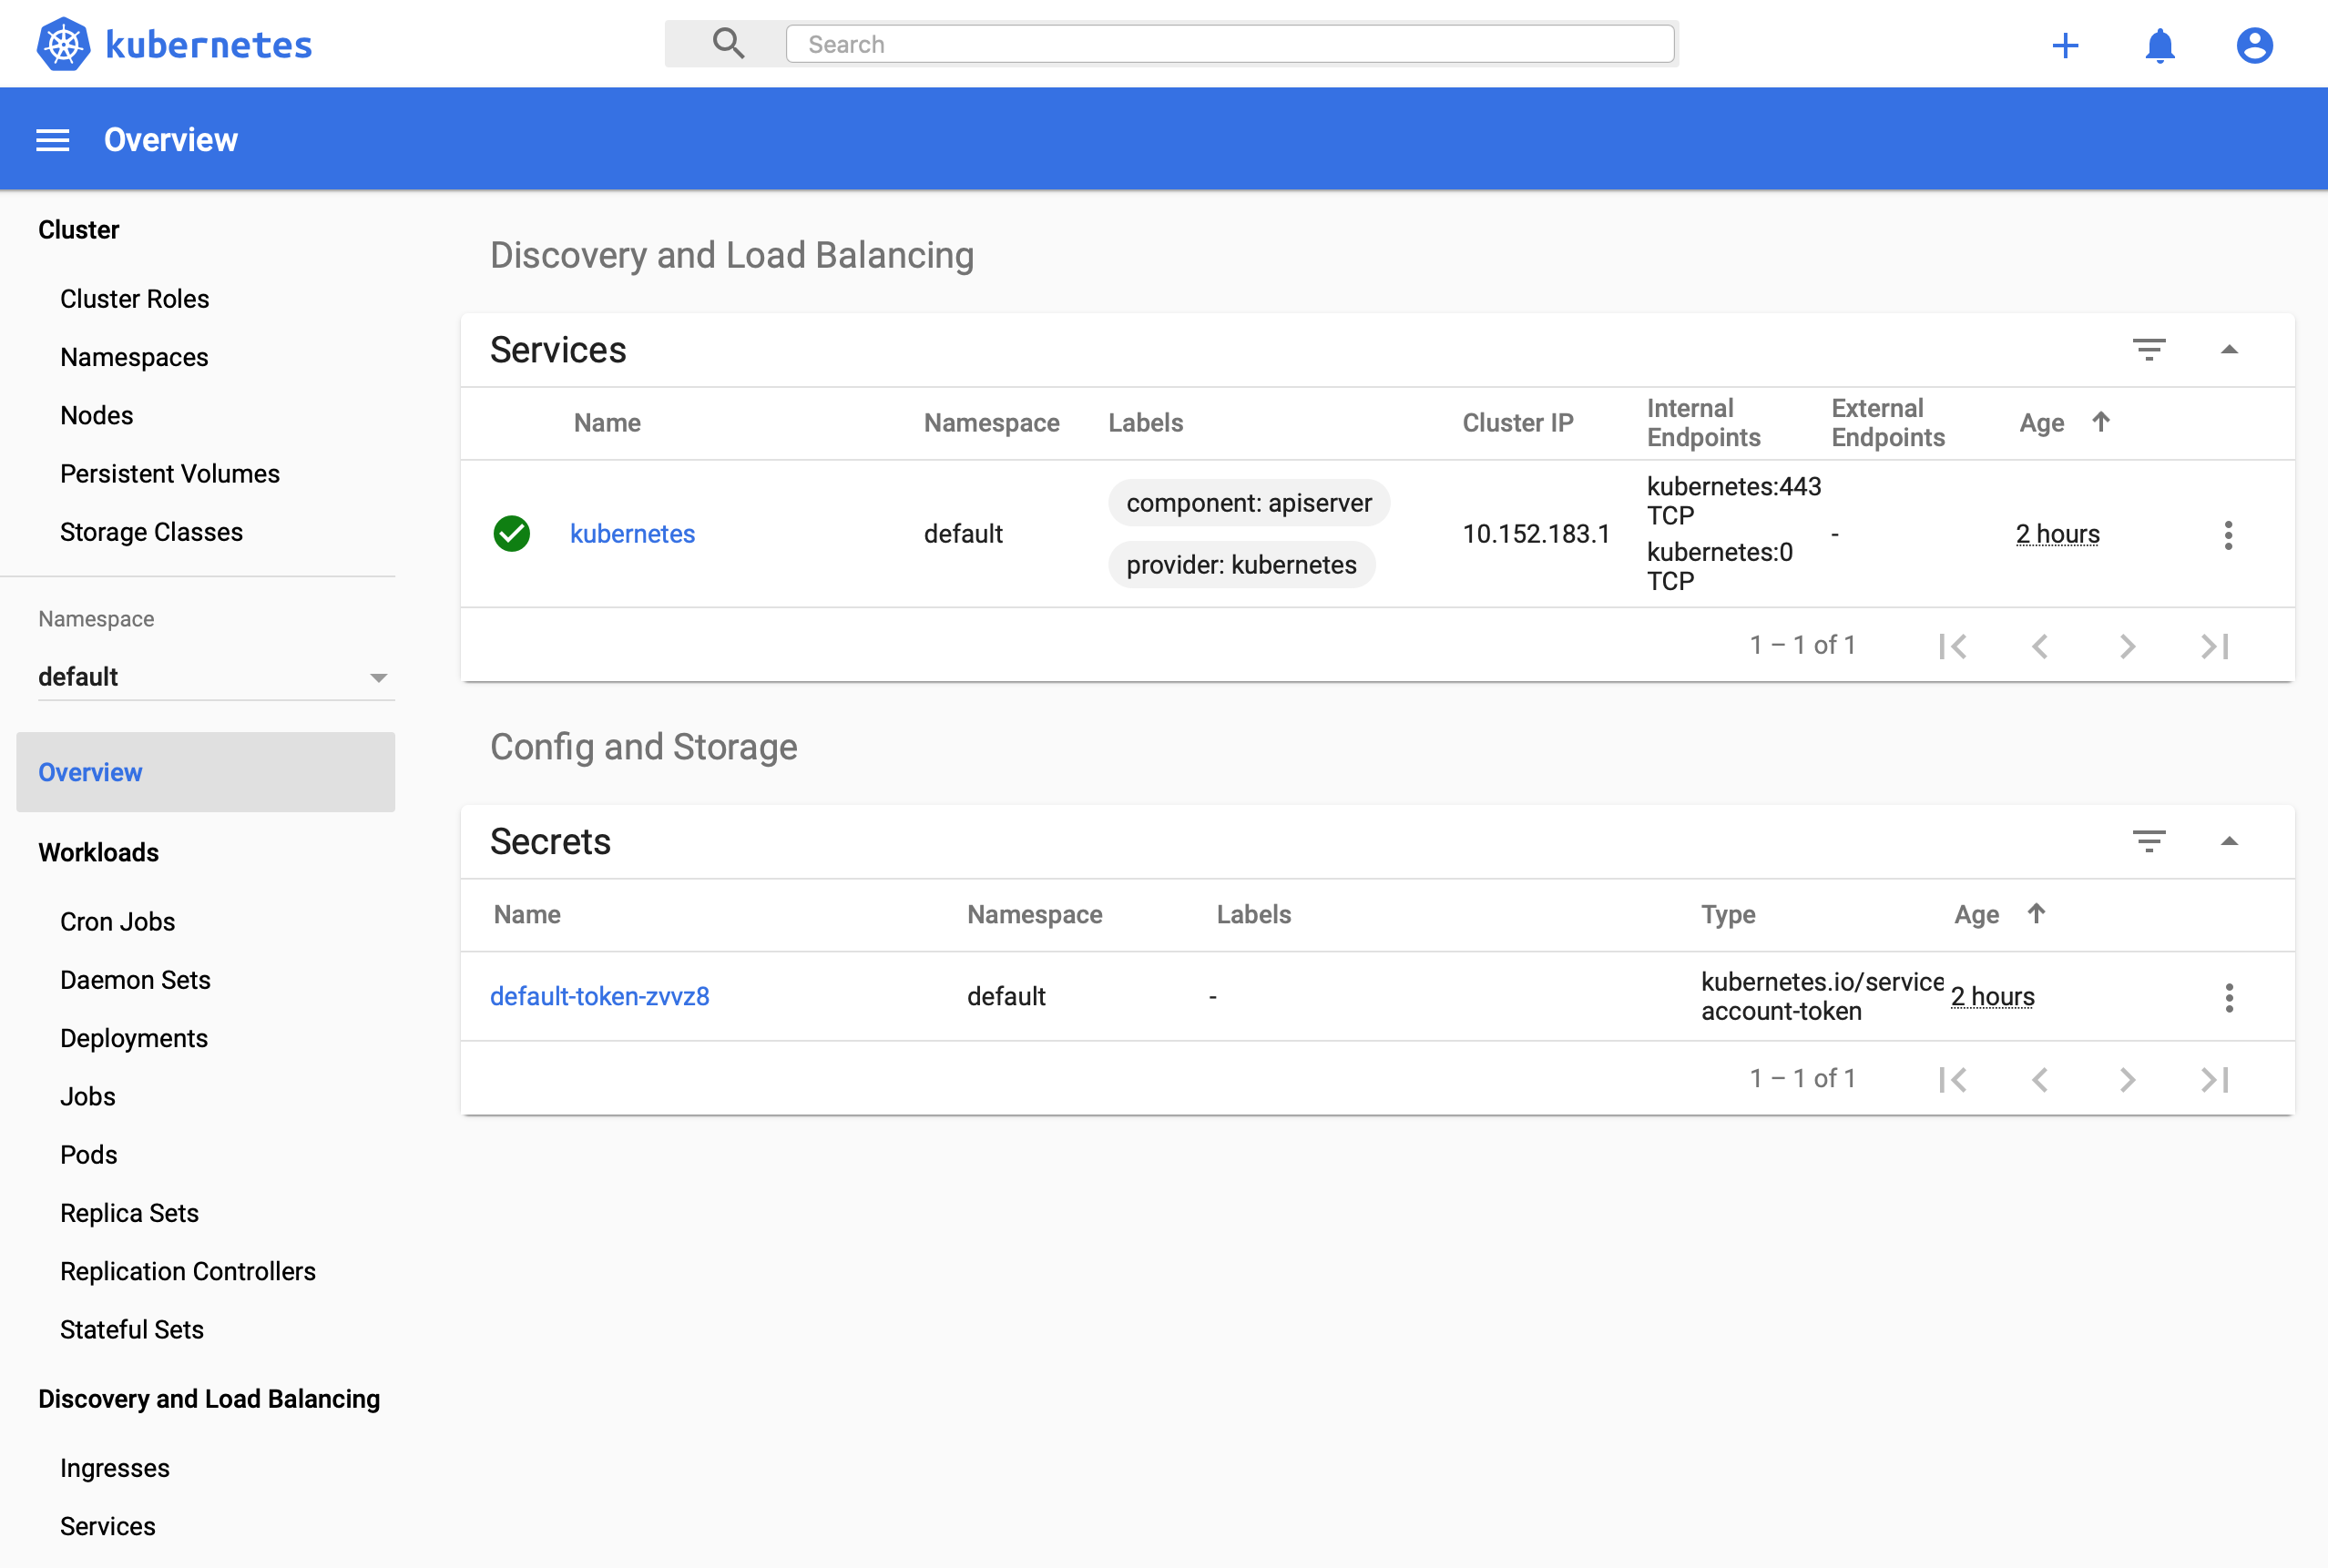
Kubernetes Dashboard
To access the Kubernetes Dashboard and get an overview of your deployments, first, you’ll need to install it on your environment. To do so, follow the instructions from its official repository at Github:
Deploy the Dashboard by running the command
kubectl:kubectl apply -f https://raw.githubusercontent.com/kubernetes/dashboard/v2.0.0-rc7/aio/deploy/recommended.yamlOnce the installation is complete, register the Kubernetes Dashboard at Ingress for convenient access through the virtual host
k8s.local. For this you’ll have to create the filekubernetes-dashboard-ingress.yamlwith the following content:apiVersion: networking.k8s.io/v1beta1 kind: Ingress metadata: name: kubernetes-dashboard-ingress annotations: nginx.ingress.kubernetes.io/rewrite-target: / nginx.ingress.kubernetes.io/ssl-passthrough: "true" nginx.ingress.kubernetes.io/backend-protocol: "HTTPS" nginx.ingress.kubernetes.io/proxy-body-size: '0' spec: rules: - host: k8s.local http: paths: - path: / backend: serviceName: kubernetes-dashboard servicePort: 443Implement:
kubectl apply -f kubernetes-dashboard-ingress.yaml -n kubernetes-dashboardYou will need to edit the
hostsfile on your machine and add the aliask8s.localto the local host’s IP:127.0.0.1 localhost k8s.local/etc/hostsen linux/macc:\windows\system32\drivers\etc\hostsen windows
Open your browser and enter
http://k8s.local. The access form will appear: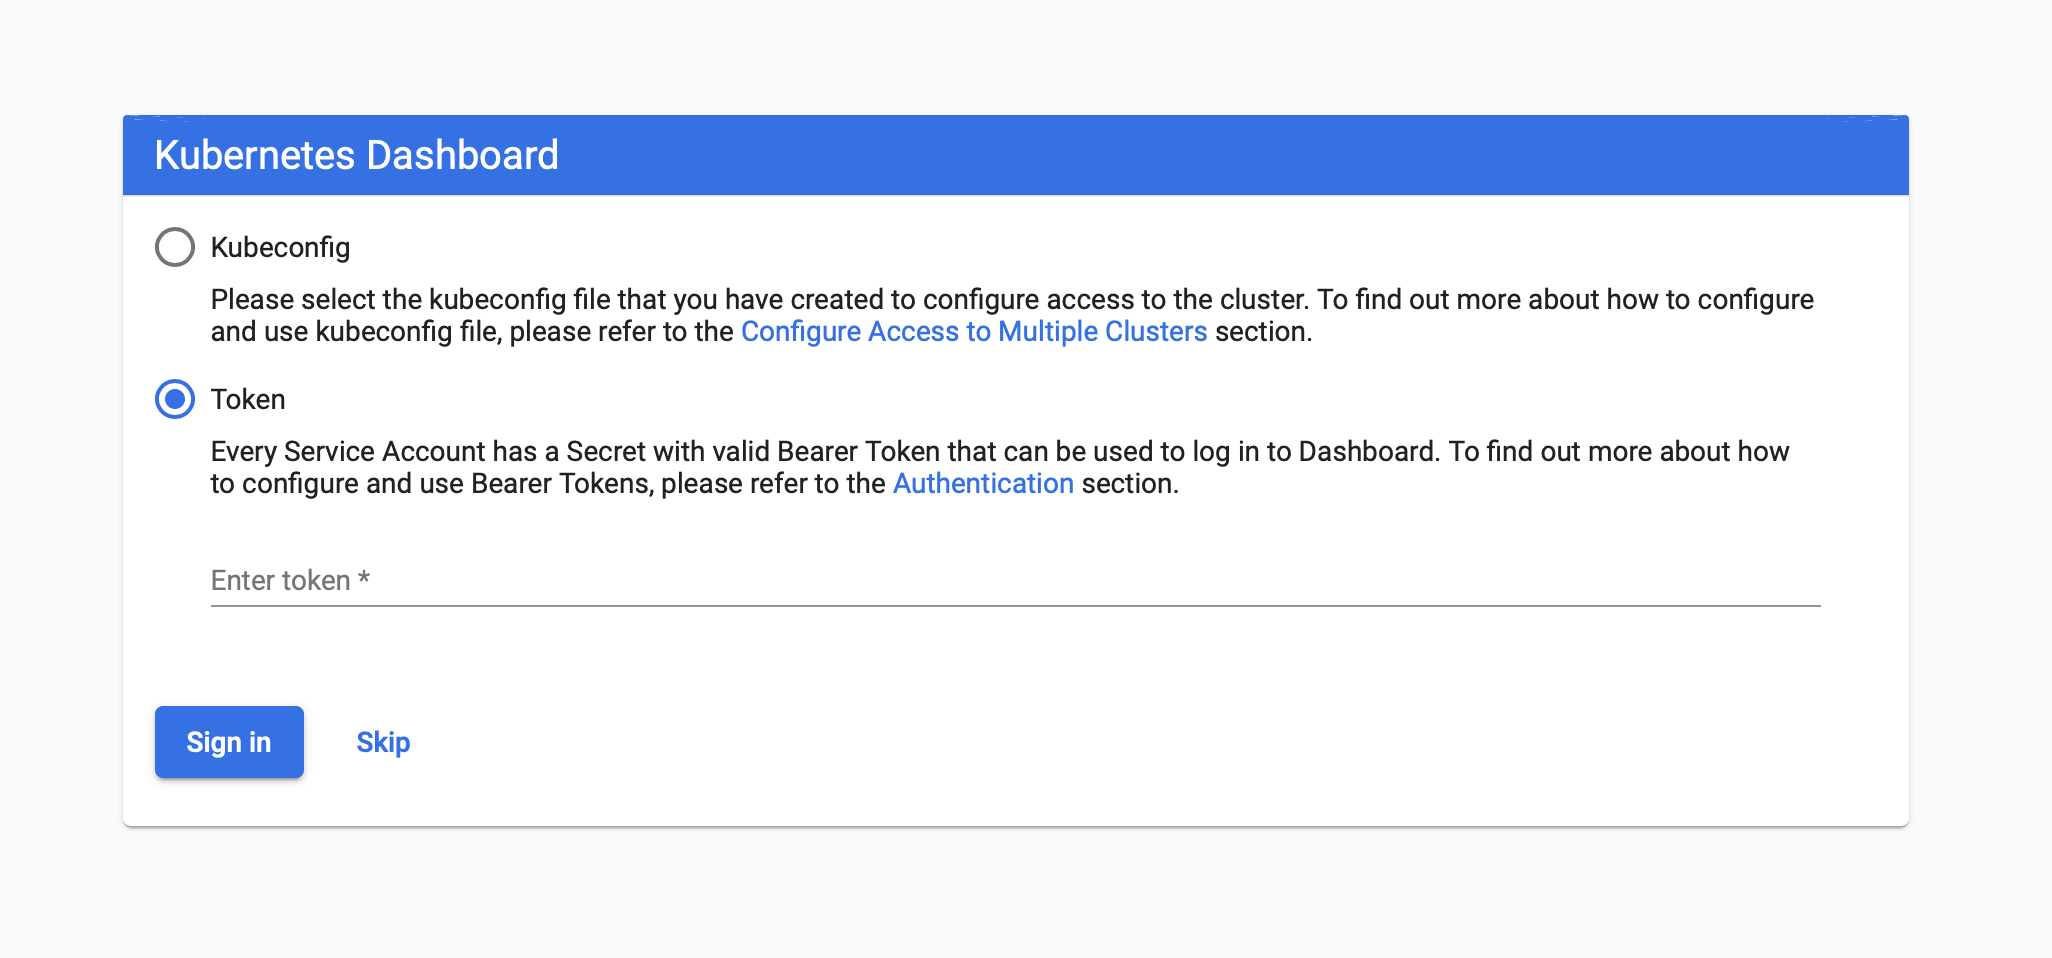
To access you’ll need an access token.
If you want you can allow access without token which is more convenient for local development. If so, you can skip the next steps:- (Windows PowerShell)
kubectl -n kubernetes-dashboard describe secret $(kubectl -n kubernetes-dashboard get secret | sls admin-user | ForEach-Object { $_ -Split '\s+' } | Select -First 1) - (Bash)
kubectl -n kubernetes-dashboard describe secret $(kubectl -n kubernetes-dashboard get secret | grep admin-user | awk '{print $1}')
- (Windows PowerShell)
If you have allowed access without a token, the
Skipbutton will appear on the login form. Click it to enter the Dashboard. Otherwise, you’ll need the access token obtained in step 5.
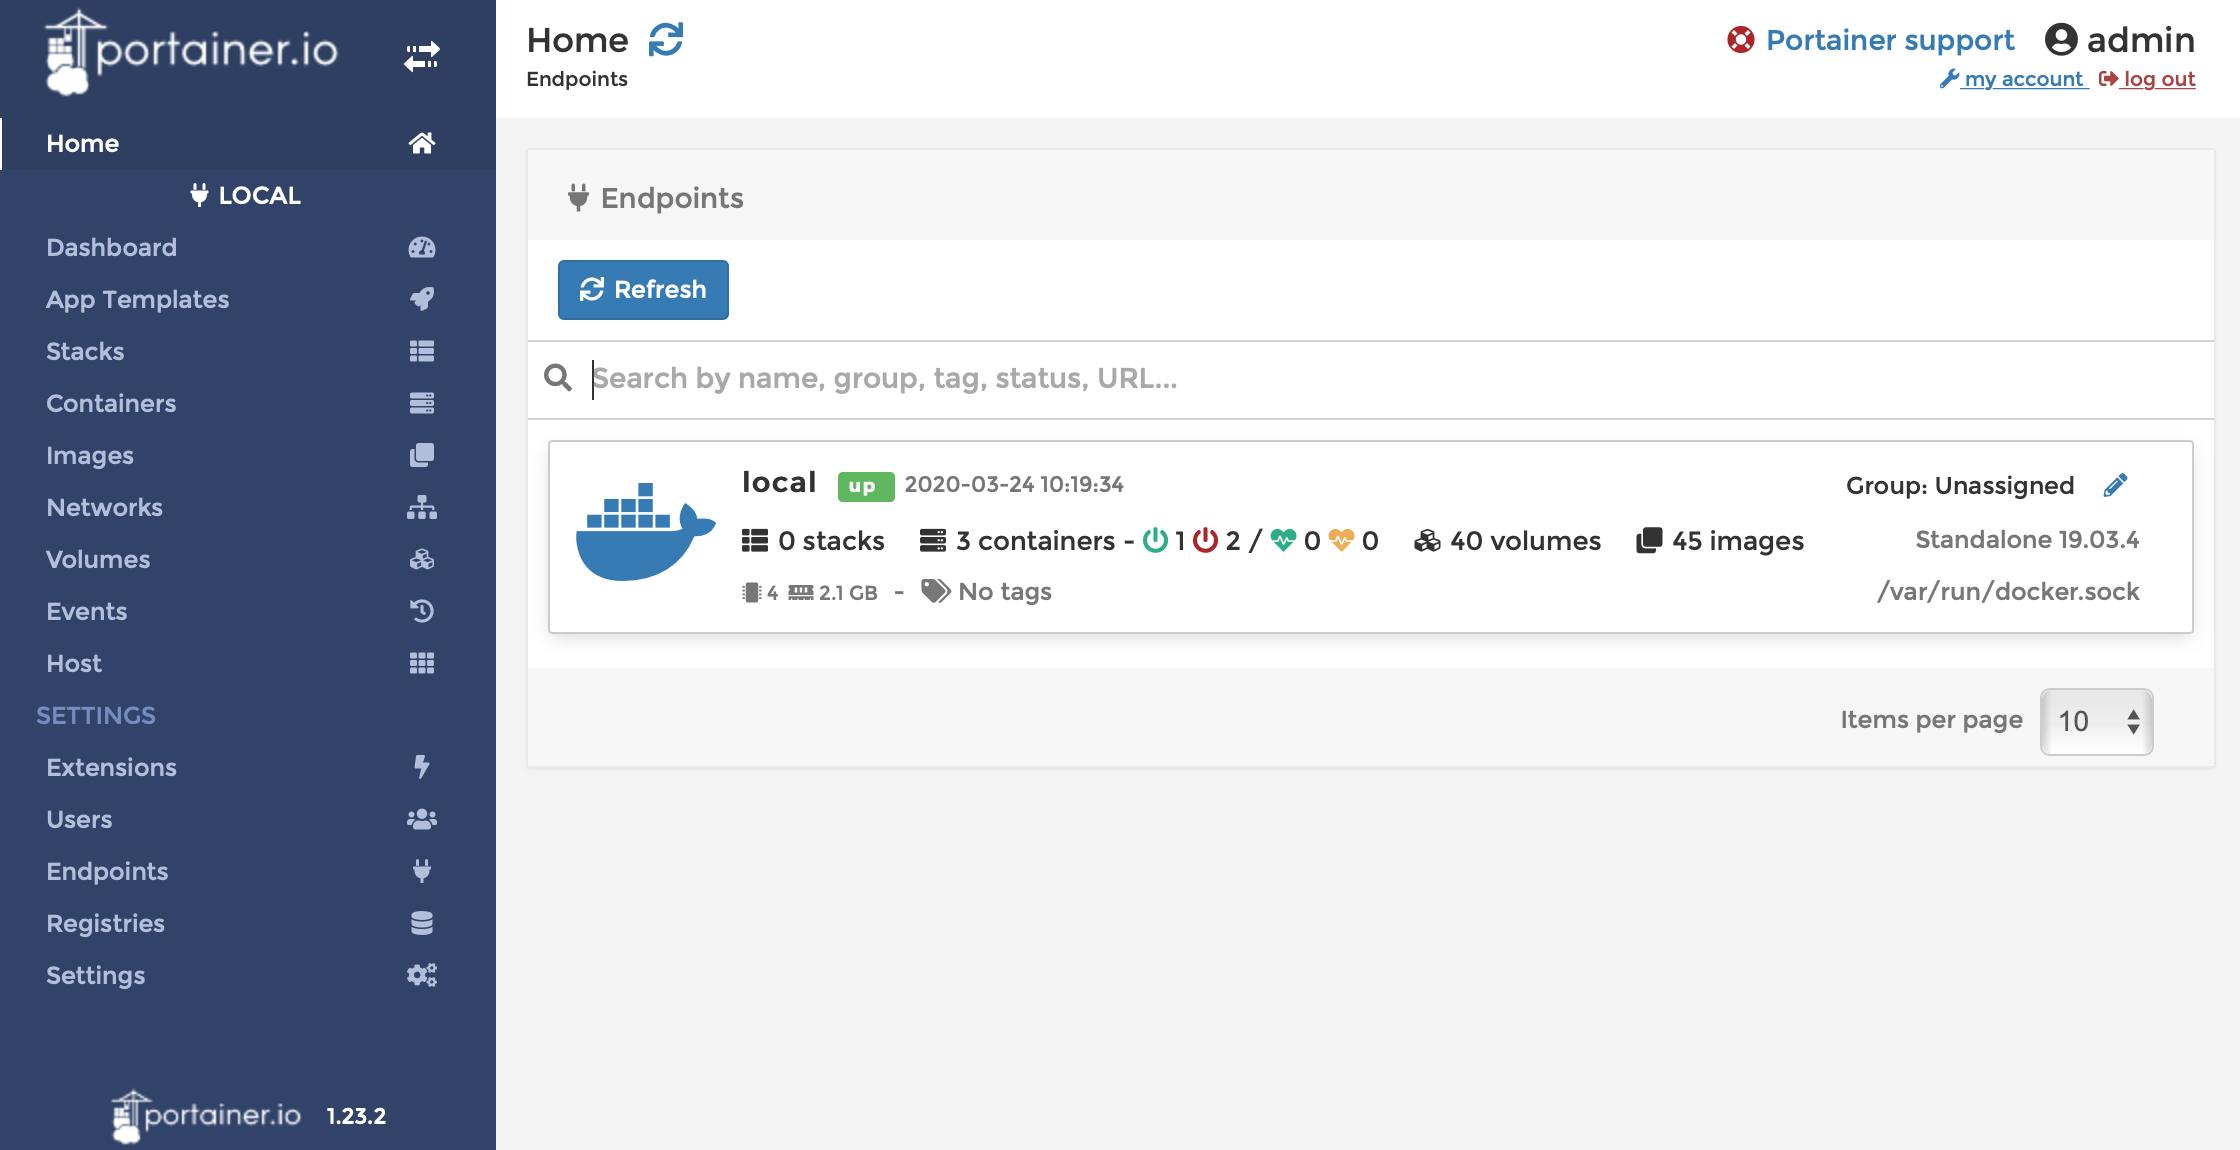
Docker Management Console
Once you have completed the installation and configuration of Docker Desktop, you will need to install a Docker Management Console, which makes it easier to manage images and containers graphically. Portainer is among our favorites since, apart from all its features, it is installed as a container in the Docker itself.
Follow the installation steps for your operating system.
Help and troubleshooting
Allow token-free access
For local development, the most convenient way is to activate token-free access to the Kubernetes Dashboard. To do so, you must implement the following steps:
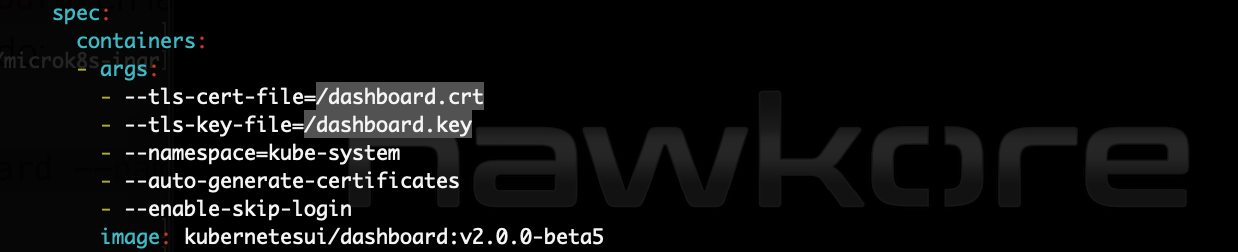
Edit the
kubernetes-dashboardconfiguration and enter the--enable-skip-loginparameter in the boot arguments:kubectl edit deployment/kubernetes-dashboard -n kubernetes-dashboardGo down until you reach
- args:and enter--enable-skip-login:containers: - args: - --enable-skip-loginIt should look like this:
Once you’ve edited the configuration, restart kubernetes-dashboard to apply the changes:
kubectl rollout restart deployment/kubernetes-dashboard -n kubernetes-dashboard